How to Bleed Radiators A Complete Homeowner Guide
- Luke Yeates
- Aug 29, 2025
- 10 min read

If your radiators are cold at the top but still warm at the bottom, the culprit is almost always trapped air. It’s a classic sign we see all the time in Eastbourne homes, from the Victorian terraces in Meads to the new builds in Sovereign Harbour, and it’s a problem that stops hot water from circulating properly.
This forces your boiler to work overtime for less heat, which is a sure-fire way to waste energy and money. The good news is that the solution is usually straightforward: bleeding your radiators to release that trapped air will get your heating system running efficiently again.
Why Do Radiators Even Need Bleeding?
Cold spots on radiators are a common complaint we hear at Harrlie Plumbing and Heating, whether you're in an older house in Roselands or a modern flat near Eastbourne Pier. This temperature difference is down to simple physics—air is lighter than water, so it rises and collects at the top of your radiator, creating an airlock. This pocket of air acts as a barrier, physically stopping hot water from filling the entire unit.
The results are pretty annoying. You get uneven heating in your rooms, strange gurgling or bubbling sounds coming from your pipework, and, of course, higher energy bills. Your boiler has to run for much longer just to try and reach the temperature on your thermostat, putting unnecessary strain on the whole system. Thankfully, knowing how to bleed your radiators is a simple bit of DIY that can sort this right out.
How to Be Sure It's Trapped Air
Before you grab any tools, it’s worth taking a moment to confirm that trapped air is the real issue. Run through this quick mental checklist:
The Cold Top Test: Is the top of the radiator noticeably cooler to the touch than the bottom? This is the number one giveaway.
Gurgling Noises: Can you hear bubbling or gurgling sounds when your heating clicks on? That's the sound of water struggling to push past the trapped air.
The Slow Starter: Does one particular radiator take ages to warm up compared to the others in your house?
If you're nodding along to these, it’s time to get that air out. Bleeding radiators is standard maintenance for any central heating system in the UK. By carefully opening the bleed valve with a radiator key, you allow the trapped air to escape with a hiss. Once a little water starts to drip out, you just close the valve again. It's that simple.
To help you get started, here's a quick reference table with the tools you'll need and the symptoms to look out for.
Radiator Bleeding Checklist: Tools and Symptoms
Symptom to Check For | Tool Required | Estimated Time Per Radiator |
|---|---|---|
Top of the radiator is cold, bottom is warm | Radiator bleed key or a flathead screwdriver | 2-5 minutes |
Gurgling or bubbling sounds from pipes or radiator | An old cloth or rag to catch any drips | 2-5 minutes |
The radiator is slow to heat up | A bowl or small container to place under the valve | 2-5 minutes |
This quick job reduces the strain on your boiler and can genuinely save you money on your heating bills by making sure the heat is properly distributed around your home. For a deeper dive into how different heating systems compare, check out our comprehensive guide on underfloor heating vs radiators.
Here at Harrlie Plumbing and Heating, we always tell our clients in Eastbourne to try this first. It’s a fundamental part of keeping any central heating system healthy and happy.
Getting Your Tools and Preparing the Area
Before you even think about touching that bleed valve, a bit of prep work is essential. This is the key to getting the job done cleanly and safely. After all, the last thing you want is a simple bit of maintenance turning into a major clean-up operation, especially on a chilly Eastbourne afternoon.
The good news is you don’t need a complicated toolkit. Most of what you need is probably already in a drawer somewhere, or easily picked up from a local hardware shop in town. Taking just five minutes to get organised now will make the whole process of bleeding your radiators much smoother.
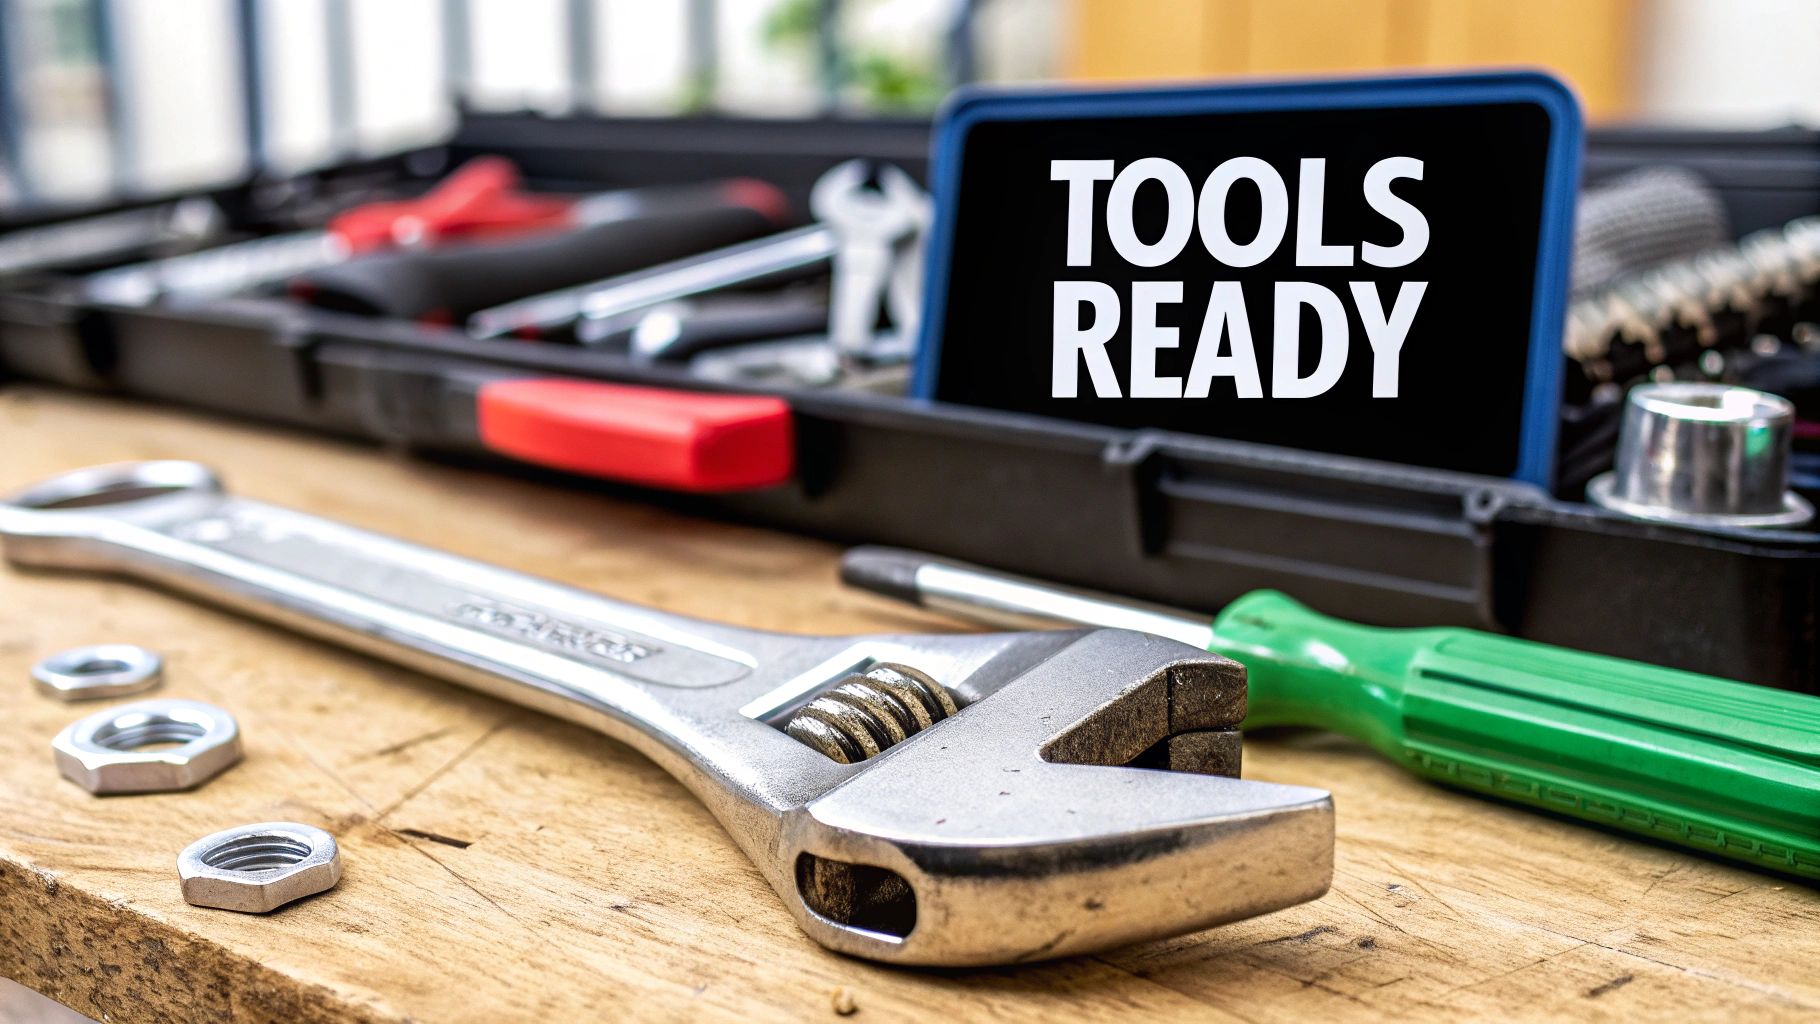
Your Essential Toolkit
To tackle this job properly, you'll want a few specific items ready to go. Having everything within arm's reach before you start is the difference between a quick fix and a frustrating mess.
A radiator bleed key: This is your most important tool. While some newer radiator valves can be opened with a flathead screwdriver, the classic square key is what you’ll find on most models and is always the most reliable option.
An old towel or cloth: This is for catching any drips and protecting your floors right under the valve.
A small container: A jug or even an old yoghurt pot is perfect for catching that initial spurt of water that comes out after the air.
A top tip from our Harrlie Plumbing and Heating engineers is to lay down a plastic sheet under the radiator as well. This is especially important if you have delicate carpets or original wooden floors, like those found in many lovely Meads village homes, to prevent any chance of water damage.
The most critical prep step, however, has nothing to do with tools. You absolutely must turn off your central heating and give the radiators plenty of time to cool down completely. Trying to bleed a hot radiator is a serious scalding risk.
Letting the system cool also allows the water to settle, which encourages all that trapped air to gather at the top of the radiator. This makes it far easier to release and ensures you get the job done right the first time. It's a simple pause that guarantees both your safety and a better result.
How to Bleed Your Radiators Safely and Effectively
Right, you’ve got your tools and the heating is off. Now for the main event. Learning how to bleed a radiator is pretty straightforward, but doing it correctly is key. The last thing you want is a leaky valve or a soggy carpet because you rushed it.
The next few steps should only take a couple of minutes for each radiator. The trick is to be slow and deliberate—listen carefully for the tell-tale signs that you’re releasing that trapped air.
This process, shown below, highlights those critical first steps you need to take before you even think about touching the valve.
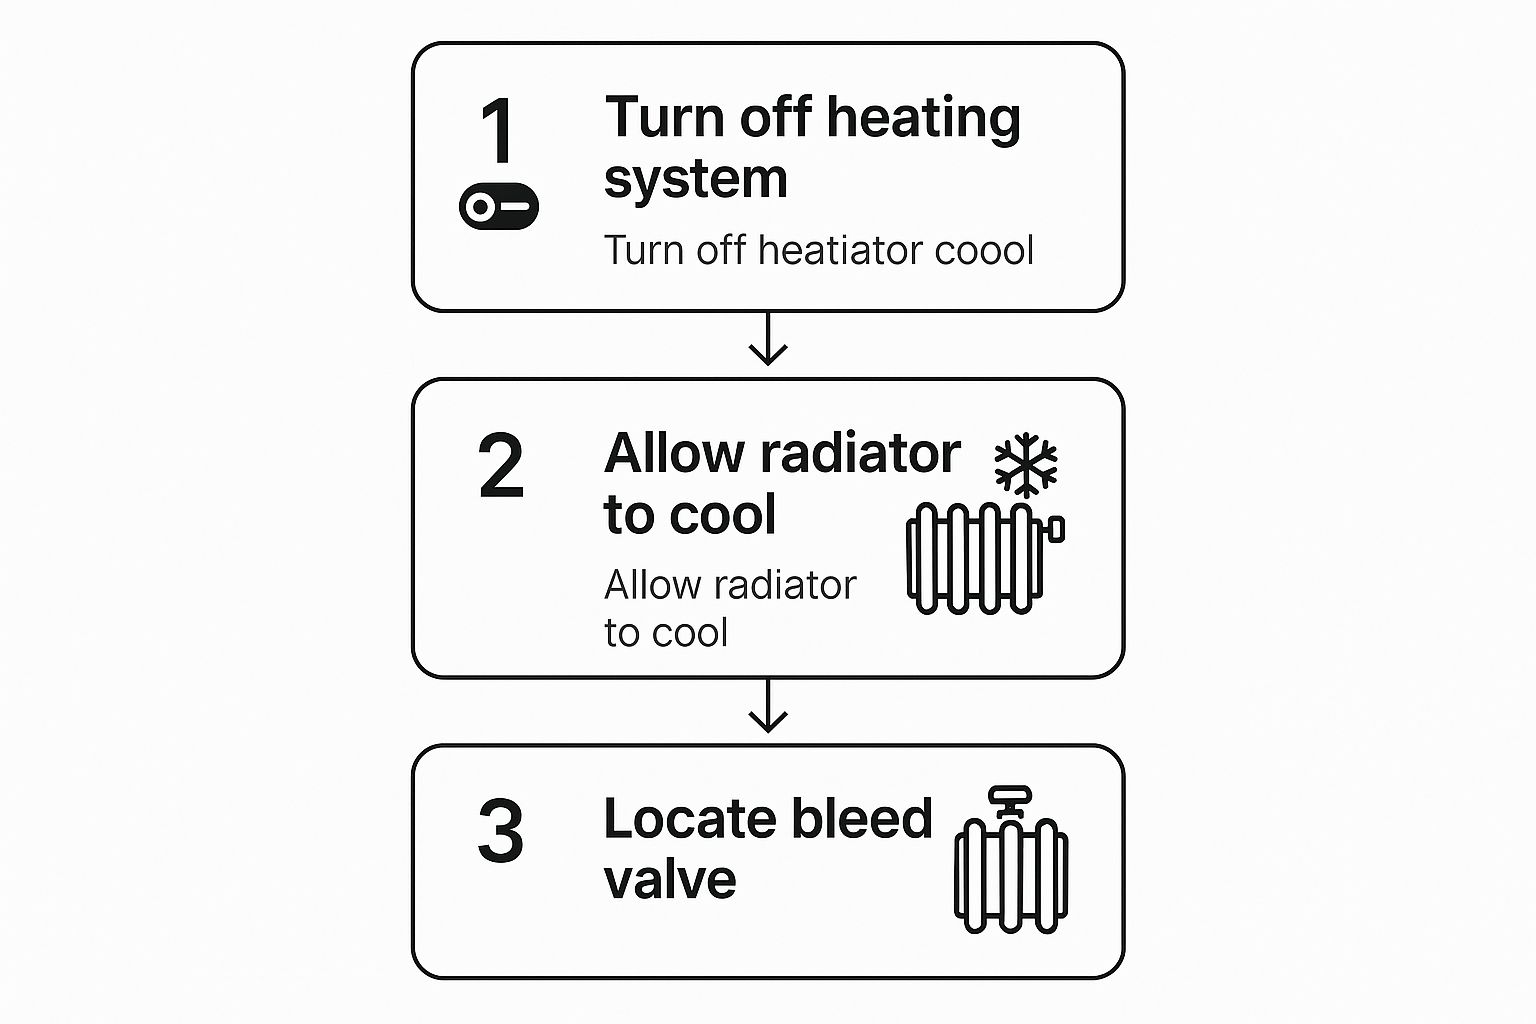
This visual guide really drives home the preparation: system off, radiators cool, and valve located. Get these right, and you’re set for a safe and effective bleed. Let’s get to the practical bit.
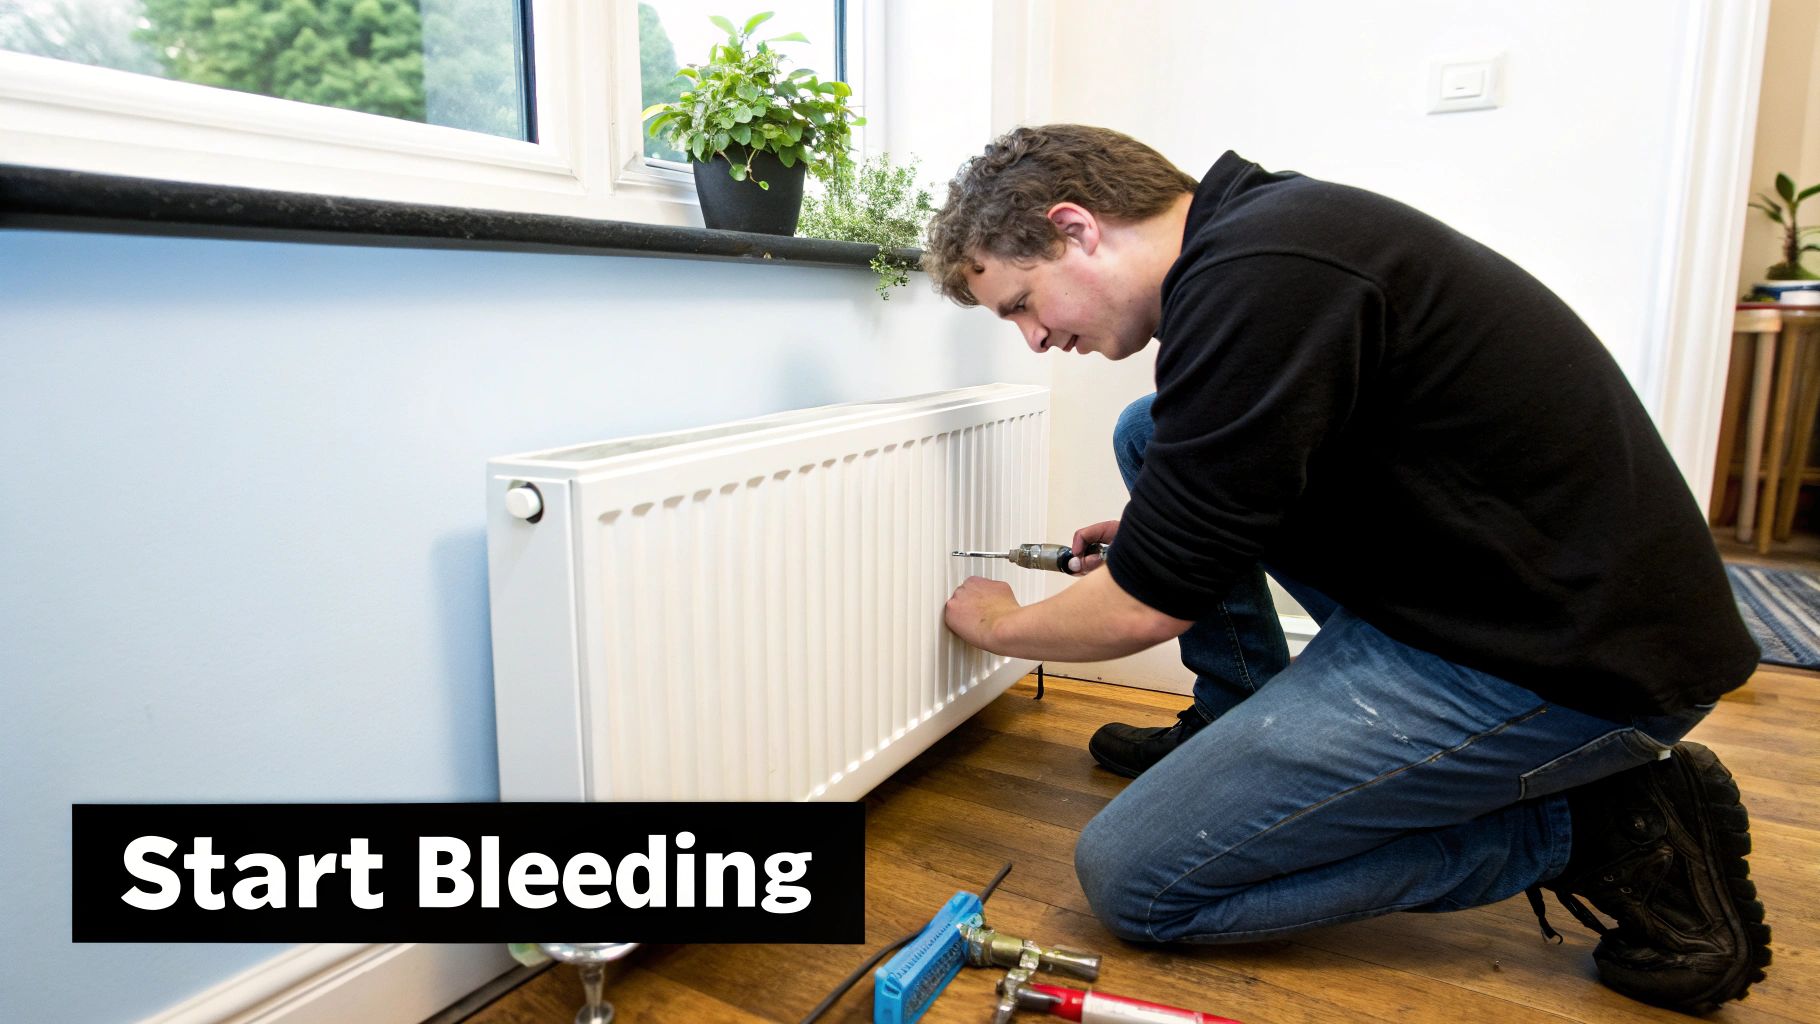
Releasing the Trapped Air
First up, you need to find the bleed valve. It’s a small, usually square-shaped nub at the top corner of your radiator. Once you’ve spotted it, tuck your cloth directly underneath to catch any drips that might escape.
Now, fit your radiator key onto the valve. You’re looking for a snug fit. Slowly turn the key anti-clockwise—you don’t need to force it, a quarter-turn is often all it takes. You should immediately hear a distinct hissing sound. That’s the trapped air making its escape, and it’s a good sign you’re on the right track.
A tip from the Harrlie Plumbing and Heating team: Don't be alarmed if the first few drips of water are a bit murky or discoloured. This is quite common in central heating systems, especially with Eastbourne's hard water. However, if the water is very dark, thick, and full of sludge, it could signal a more serious build-up that needs professional attention.
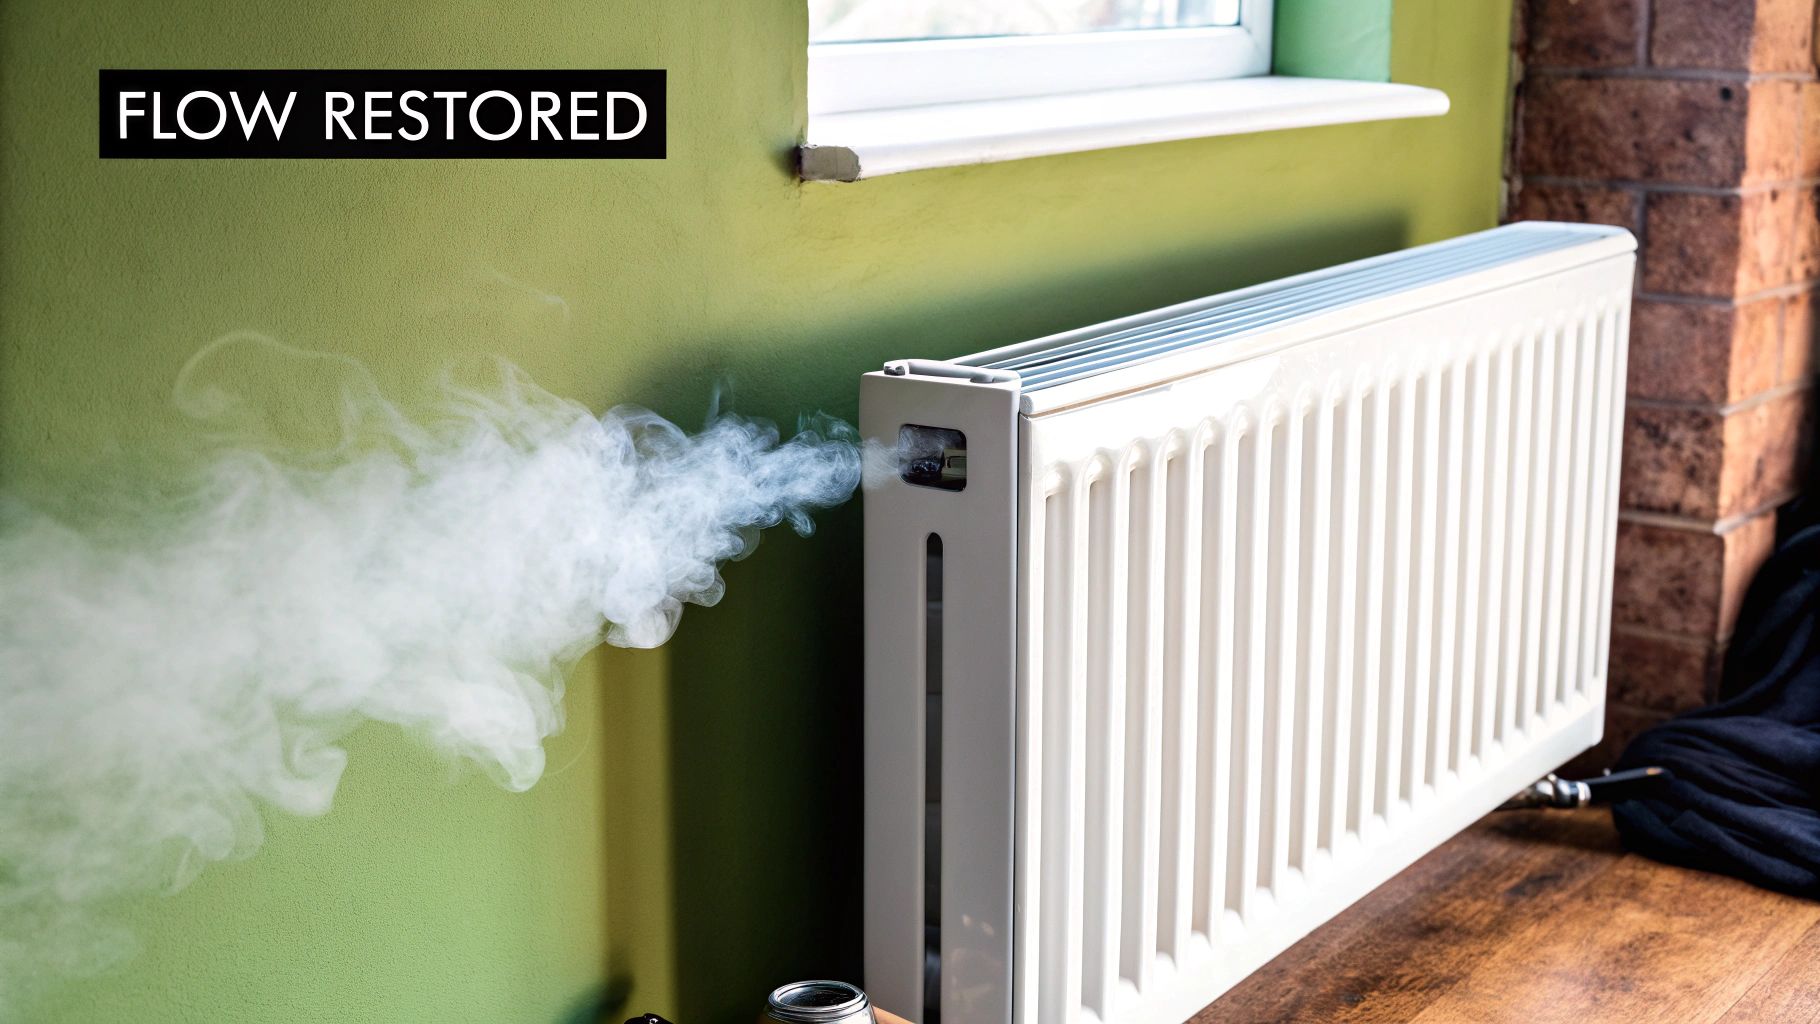
Knowing When to Stop
Keep letting the air hiss out. Eventually, the sound will stop, and a steady little dribble of water will emerge from the valve. That’s your signal—all the trapped air has been successfully pushed out.
As soon as you see water, it's time to close things up. Gently turn the radiator key clockwise to tighten the valve. You want it to be snug and secure, but be careful not to overtighten it. You could damage the valve's internal mechanism, which is a fast track to a persistent leak.
Once it’s tight, give it a quick wipe with your cloth, and you're done. Just repeat this process for any other radiators in your Eastbourne home that were feeling a bit cold at the top.
Time for a Final Check on Your Boiler Pressure
You’ve successfully bled all the air out of your radiators, which is fantastic. But before you put your feet up, there’s one last, crucial step that often gets missed: checking your boiler's pressure.
When you let trapped air out, you inevitably release a little pressure from the central heating system. This is completely normal, but it's something you need to put right. If the pressure drops too low, your boiler might cut out as a safety measure, leaving you with no heat at all. We’ve had countless calls from homeowners in Eastbourne who've bled their radiators perfectly, only to be stumped when the heating won’t come back on. Nine times out of ten, low pressure is the culprit.
Finding and Reading the Pressure Gauge
First, you’ll need to locate the pressure gauge on your boiler. It’s usually a round dial with red and green zones, and a needle that points to the pressure in units called "bar." For most modern systems, the ideal pressure when the heating is cold should be between 1 and 1.5 bar.
Think of it like the air in your car tyres; if it’s too low, the system simply can't perform as it should. If you spot your gauge's needle has dipped below 1 bar, you’ll need to re-pressurise the system.
When you re-pressurise, you're essentially just topping up the water level to replace the volume of air you just released. It’s a small step, but it’s vital for ensuring your boiler can operate safely and efficiently, pumping hot water through your newly air-free radiators.
Topping up the pressure usually involves a little gadget called the filling loop—a small, often silver, flexible hose or a lever system connected underneath your boiler. The exact method can vary a bit depending on your boiler model, so if you're feeling unsure, it's always safer to give a professional from Harrlie Plumbing and Heating a call rather than risk it.
Here’s a quick reference table to help you understand what your boiler pressure gauge is telling you.
Boiler Pressure Guide Before and After Bleeding
This simple guide will help you understand and manage your boiler's pressure during the radiator bleeding process.
System State | Ideal Pressure (Bar) | Action Required |
|---|---|---|
Heating Off (Cold) | 1.0 - 1.5 | This is the perfect range. No action is needed. |
After Bleeding | Below 1.0 | Your system needs re-pressurising. Use the filling loop to top it up. |
Heating On (Hot) | 1.5 - 2.5 | Pressure naturally rises with heat. This is normal. |
Consistently High | Above 2.75 | The pressure is too high. You may need to call a professional. |
Managing your boiler pressure doesn't have to be complicated, and keeping it in that sweet spot ensures a happy, healthy heating system.
If you want a more detailed breakdown, you might find our guide on how to fix water pressure issues in your Eastbourne home useful. And of course, if you'd rather leave it to the experts, our engineers at Harrlie Plumbing and Heating can get your system back to its optimal pressure quickly and safely.
Common Problems and When to Call a Professional
Sometimes, bleeding your radiators doesn't quite get the job done. You’ve let all the air out, followed all the steps, but a radiator is still giving you grief. It happens more often than you'd think, and it usually means the issue runs a little deeper than just trapped air.
Knowing when to put the radiator key down and pick up the phone to a local Eastbourne expert like Harrlie Plumbing and Heating can save you a lot of time, stress, and potentially costly damage. Here are a couple of tell-tale signs that it's time to call in the experts.
Radiator Still Cold at the Bottom
So, you've bled the radiator, and now the top is toasty warm, but the bottom remains stubbornly cold. That's not an air problem. This is the classic symptom of radiator sludge—a nasty build-up of rust, dirt, and other debris that settles at the base of your radiator, blocking the flow of hot water.
You can bleed a radiator all day, but it won’t shift this gunk. The only real fix is a professional power flush to clear out the entire system. Research shows this is a widespread issue, with about 70% of systems suffering from deteriorating inhibitor fluid, which is vital for preventing the internal corrosion that causes sludge in the first place. This is a common issue our engineers find in Eastbourne homes.
Stuck or Leaking Bleed Valves
What happens if the bleed valve is stuck solid, or worse, it starts leaking after you've tightened it? This is where you need to stop immediately. Forcing a seized valve is a sure-fire way to snap it, and a persistent leak—even a small one—can cause serious water damage over time.
For these more stubborn issues, it’s always best to call in an expert. Our Gas Safe registered engineers at Harrlie Plumbing and Heating serve the entire Eastbourne area, handling everything from stubborn valves to comprehensive system flushing. Don't risk turning a small drip into a major repair.
If you're worried about how much a professional fix might set you back, our guide provides a detailed breakdown of what to expect with radiator leak repair costs in the UK. Ultimately, getting professional help ensures the job is done safely and correctly, protecting your home and your heating system for the long haul.
A Few Common Questions About Bleeding Radiators
We get asked about bleeding radiators all the time by homeowners across Eastbourne. Here are some quick answers to the questions that pop up most often, offering a bit more clarity on the things we didn't cover in the main guide.
How Often Should I Bleed My Radiators?
As a rule of thumb, it’s a good idea to check your radiators at least once a year. The best time is usually in autumn, right before you start firing up the heating for the colder months here in Eastbourne.
That said, if you hear any strange gurgling sounds or notice cold spots at the top of a radiator, that’s your system telling you it needs attention. Don’t wait – get it bled sooner rather than later.
Should I Bleed All Radiators At Once?
For the best results, you absolutely should. The most effective way to do it is to start with the radiator furthest from your boiler (perhaps the one in the loft conversion) and then work your way back towards it. This method methodically pushes all the trapped air right out of the system.
Of course, if it’s just one radiator acting up, you can get away with just bleeding that single one. Just make sure you check your boiler pressure afterwards, as it will likely need topping up.
What If My Bleed Screw Is Rounded?
A worn or rounded bleed screw is a classic problem, especially in some of the lovely older properties here in Eastbourne. You might be able to get a gentle grip on it with a small pair of pliers, but if it refuses to budge, don't force it.
Trying to force a stuck screw is a surefire way to cause a much bigger headache, like a leak or even a cracked radiator. It’s far safer to give a professional a call. At Harrlie Plumbing and Heating, we can sort this out quickly without risking any damage.
If you're still dealing with stubborn radiator problems or just don't feel confident tackling the job yourself, the expert team at Harrlie Plumbing and Heating is always here to help. Contact us for fast, reliable service across Eastbourne and the surrounding areas.

Comments