how to install thermostatic radiator valves: a simple guide
- Luke Yeates
- Nov 28, 2025
- 15 min read
Upgrading to thermostatic radiator valves—or TRVs, as we call them in the trade—is one of the smartest moves you can make to get a proper handle on your heating. It lets you control things room by room, which is brilliant for cutting down on wasted energy and making your home much more comfortable.
The job itself involves isolating and draining a radiator, swapping out the old manual valve, and fitting the new TRV. It’s a popular DIY project, and for good reason—it can make a real difference to your energy bills, something we at Harrlie Plumbing and Heating always champion for homeowners in Eastbourne.
Gain Control of Your Home Heating with TRVs
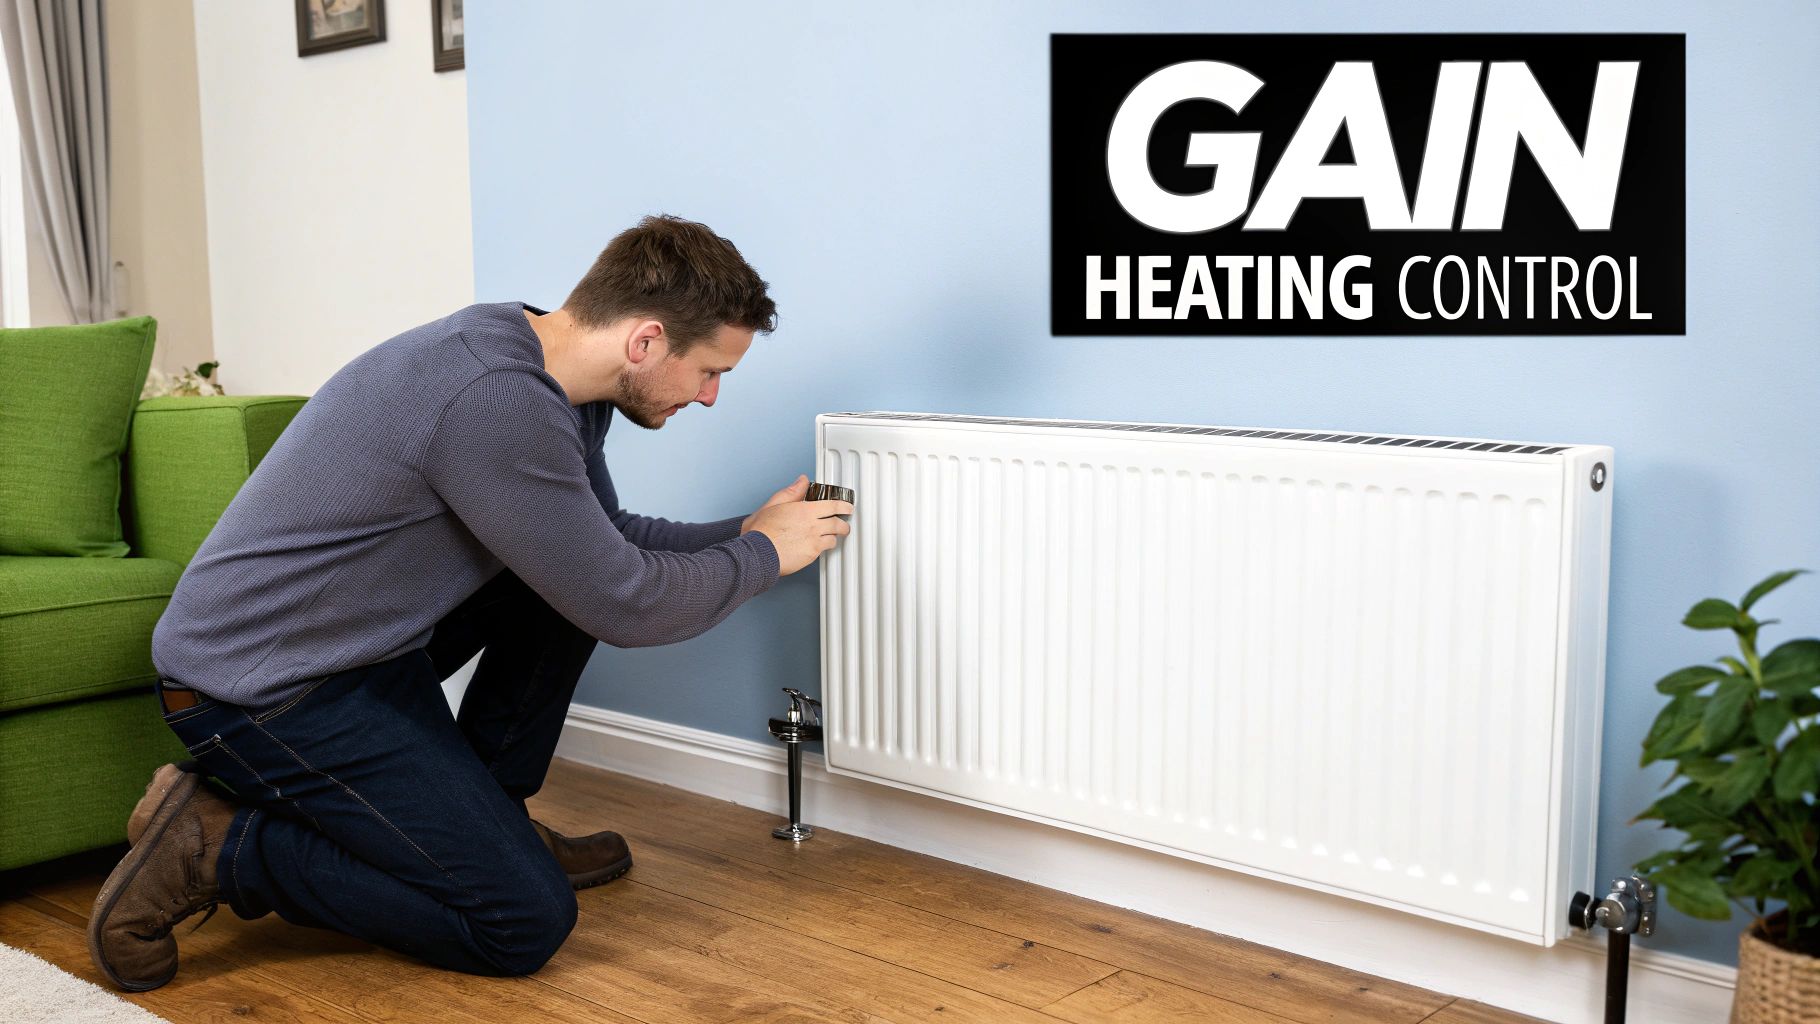
Are you fed up with paying to heat rooms you barely even step into? A thermostatic radiator valve gives you precise, radiator-by-radiator control, allowing you to set up custom heating zones all over your house. This simple upgrade is genuinely one of the most effective ways to make your central heating system work smarter, not harder.
Instead of your main thermostat trying to heat every single room to the same temperature, a TRV cleverly senses the air temperature right where it is. Once a room hits the warmth you’ve set, the valve automatically dials back the flow of hot water to that specific radiator. This stops the room from getting stuffy and, more importantly, saves energy.
Why TRVs Are a Smart Upgrade
This ability to tailor your heating is a game-changer, especially in the mix of properties we see around Eastbourne, from draughty old Victorian terraces in the Meads to modern, well-insulated flats down by the Sovereign Harbour.
By fitting TRVs, you can:
Boost Comfort: Keep the living room nice and cosy while leaving the spare bedroom much cooler.
Reduce Energy Bills: Why waste money heating empty spaces? Your boiler won’t have to work as hard, and that saving goes straight into your pocket.
Improve Boiler Efficiency: When you manage heat demand better, your boiler operates more effectively, which can even help extend its lifespan.
Let’s talk numbers, because the financial case for this is pretty compelling. Research suggests that installing TRVs can slash heating costs by a significant 18%. A few years ago, that might have saved a UK homeowner around £69 annually. But with today’s higher energy prices, those savings are now predicted to be over £202 a year.
For many homeowners in Eastbourne, the biggest win is just the practical control. You can finally stop the upstairs bedrooms from feeling like a sauna while the downstairs stays chilly—a complaint our team at Harrlie Plumbing and Heating hears all the time.
Before you get the tools out, you might want to get a bit more background on the tech. We’ve put together a detailed guide explaining what a thermostatic radiator valve is and how it saves energy that’s well worth a read.
This guide will walk you through the whole installation process, step-by-step. But remember, if you get halfway through and decide DIY isn’t for you, our local experts at Harrlie Plumbing and Heating are always here to help.
How to Choose the Right TRVs for Your Radiators
Before you even think about reaching for your tools, the first job is picking the right thermostatic radiator valve. Getting this right is half the battle won. With so many different types, sizes, and shiny new features on the market, choosing the one that actually suits your home and heating system is key to reaping the benefits of your upgrade.
The first big decision is usually between a traditional, manual TRV and one of the newer smart models. Manual TRVs are the workhorses of the heating world—reliable, easy on the wallet, and dead simple to use. You just turn the dial, which is usually numbered from 0 to 6, to set your preferred temperature. For most homes, they're a brilliant choice and a massive step up from a basic on/off valve.
Then you have the smart TRVs. These give you a whole new level of control, letting you manage everything from a smartphone app. You can set up detailed heating schedules for every single room, tweak the temperature when you’re out and about, and even link them up with your smart home setup. They do cost a bit more upfront, but the way they let you fine-tune your heating can lead to some serious energy savings down the line.
Angled or Straight? What Your Pipework Needs
Once you've settled on manual or smart, the next thing to figure out is the shape of the valve. This has nothing to do with looks—it’s all about matching the valve to the way your pipes connect to the radiator.
Angled TRVs: These are by far the most common type you’ll find in UK homes. If your central heating pipe comes up from the floor or out of the wall and needs to make a 90-degree turn to get into the side of the radiator, you need an angled valve.
Straight TRVs: You'll use one of these when the pipe runs straight along the wall and into the side of the radiator, with no bend needed.
Go and have a proper look at your existing valves. In older properties, especially the lovely Victorian and Edwardian houses we often work on here in Eastbourne, it's not unusual to find a mix of both angled and straight valves in the same house. Getting this wrong can stop your DIY project in its tracks, so it’s well worth double-checking every single radiator you plan to work on.
Getting the Size and Quality Right
The final piece of the puzzle is making sure the fitting is the right size. In the UK, the standard pipe size for domestic radiators is 15mm, so the vast majority of TRVs are made to fit this. But—and it's a big but—older systems can sometimes have different sizes, like 10mm or even 22mm pipes. Measuring the diameter of your pipe before you head to the shops is a simple step that can save you a very frustrating trip back.
When it comes to quality, keep an eye out for valves that have the Keymark certification. This is a European quality seal that proves the product has been properly tested and meets strict performance and safety standards.
Homeowners across Europe are driving massive growth in the TRV market as everyone looks for better energy efficiency. With tight regulations and a big push for sustainability, the demand for cost-effective heating solutions is only going up. You can read more about the global trends in the thermostatic radiator valves market.
If you find yourself scratching your head over compatibility or you're just not sure which model is best for your system, don't hesitate to give us a bell at Harrlie Plumbing and Heating. As a local Eastbourne company, we're always happy to offer a bit of expert advice to make sure you buy the right TRVs with confidence.
Getting Your Tools and System Ready
A smooth, leak-free TRV installation starts long before you ever pick up a spanner. Good preparation is what separates a quick, satisfying DIY job from a frustrating afternoon spent mopping up puddles. Before you dive in, let's get everything in order, from your tools to the radiator itself.
First things first, you'll need the right gear. You don’t need a professional-grade workshop, but having these essentials on hand will make the whole process much safer and a lot less hassle.
Two Adjustable Spanners: You'll need one to hold the valve body steady and another to loosen or tighten the nuts. This two-spanner technique is key to preventing any accidental twisting of your copper pipework.
Radiator Bleed Key: Absolutely essential for letting the air out of the radiator once the new valve is on.
Old Towels and a Shallow Tray or Bucket: Let's be realistic, some water is going to spill when you take the old valve off. It's best to be ready for it.
PTFE Tape: This is your best friend for creating a watertight seal on the threads of the new TRV. Don’t even think about skipping this!
Wire Wool or a Small Brush: A quick clean-up of the pipe ends before fitting the new valve makes for a much better connection.
Prepping Your Radiator for Surgery
With your tools laid out, it's time to get the radiator ready. The good news is you don't need to drain your entire heating system. Instead, we can just isolate the radiator you're working on.
Start by switching off your central heating and waiting for the radiators to cool down completely. Working on a hot radiator is no fun at all.
Next, you'll need to shut off the water flow. Close the valve you’re planning to replace, and then head to the other end of the radiator to close the lockshield valve. You'll usually have to pop off the plastic cap and use a spanner to turn the spindle clockwise all the way. This traps the water inside this one radiator, so you only have to deal with a small amount of spillage.
A little tip from the Harrlie Plumbing and Heating team: here in Eastbourne, we see a lot of issues with hard water. The South East is notorious for limescale build-up, which can make old valves incredibly stiff and a real pain to remove. A bit of penetrating oil sprayed on an hour beforehand can work wonders.
Is Your System a Combi or Gravity-Fed?
It's also really helpful to know what kind of heating system you have. Most modern homes have a pressurised system with a combi boiler, which you can usually identify by a pressure gauge on the front panel. If you've got a large hot water cylinder and a cold water tank up in the loft, you're likely dealing with an older gravity-fed system.
Why does this matter? After you’ve fitted the new valve, you'll need to repressurise a combi system. For a gravity-fed one, you won't. Knowing which you have in advance helps you plan those final steps properly.
On a final note, if you see a lot of black, sludgy water when you drain that little bit from the radiator, it could be a sign of internal corrosion. If that's the case, you might want to learn more about how a powerflush can improve your heating system's health in our detailed guide.
Installing Your New Thermostatic Radiator Valve
Right, let's get our hands dirty. With your system drained down and your tools laid out, it's time to swap that old valve for a shiny, efficient new TRV. I'll walk you through this bit by bit, so you can tackle it with confidence.
First thing’s first: put some old towels and a shallow tray or baking dish directly under the valve you’re about to remove. Even with the system drained, there's always a bit of water left in the bottom of the radiator—and it's usually black and sludgy. A little prep here will save your carpets.
Removing the Old Valve
With your floor protected, you can get started. Grab one of your adjustable spanners and use it to grip the main body of the old valve. This is just for bracing; you're holding it steady to stop the copper pipe from twisting. The last thing you want is to cause a leak somewhere else you can't see.
While holding the valve body still, use your second spanner on the big nut connecting the valve to the radiator—this is called the union nut. You’ll need to turn it anti-clockwise. It can be pretty stiff, especially in older Eastbourne homes where limescale can weld threads together. A bit of firm, steady pressure should do the trick.
Once the union nut is loose, you can tackle the other nut that connects the valve to the pipework. Same deal here: one spanner holds the valve steady while the other turns the nut anti-clockwise. As you loosen this one, the leftover water will start to drip out into your tray. Just let it drain completely before you take the old valve body right off.
This visual shows the essential tools for a leak-free installation, covering gripping, sealing, and managing water.Having a spanner, PTFE tape, and a bucket ready turns a potentially messy job into a straightforward task.
Fitting the New TRV Securely
Before you even think about fitting the new valve, give the end of the copper pipe a quick clean with some wire wool. This gets rid of any old gunk and gives the new fitting a clean surface to seal against, which is key to avoiding drips.
Now, grab your new TRV. It comes in two main bits: the valve body and the thermostatic head. For now, we only need the body. You’ll see a small threaded section called the 'radiator tail' that screws into the radiator itself—go ahead and unscrew that from the main valve body.
It’s time to wrap the threads of this radiator tail with PTFE tape. This is a crucial step.
Always wrap it clockwise, which is the same direction you'll be tightening it.
Go around the threads about 10-15 times, pulling the tape so it stretches slightly as you go.
This is what creates that all-important watertight seal.
Screw the wrapped tail into the radiator and give it a final tighten with a spanner. Now you can offer up the new valve body, connecting it to both the pipework and the radiator tail. Always start by hand-tightening the nuts to make sure you haven't cross-threaded them.
Pro Tip from Harrlie Plumbing and Heating: When you get your spanners on the nuts, you're aiming for 'nipped up' tight, not 'cranked on' tight. Over-tightening can easily damage the soft brass fittings or the small compression ring (the olive) inside, causing a persistent drip that’s a real headache to fix later on.
Once everything is hand-tight, use your two-spanner technique again—one to brace the valve, the other to tighten the nuts up firmly. Do the nut on the pipework first, then the big union nut on the radiator.
Finally, you can screw the new thermostatic head onto the valve body. Most just click into place, but it's always worth a quick look at the manufacturer’s instructions. Make sure you turn it to the highest number or fully open setting, ready for when we refill and bleed the system.
Final System Checks and Bleeding the Radiator
With your new TRV securely fitted, you’re on the home straight. It can be tempting to fire the heating back on straight away, but hold your horses. These final checks are what separate a professional-quality job from a potential headache down the line. It's all about making sure the system is leak-free, correctly pressurised, and has no trapped air.
First things first, let’s slowly reintroduce water into the radiator. Start with the lockshield valve at the opposite end, turning it anti-clockwise by the same number of turns you used to close it. Next, slowly open your new TRV and listen carefully for the sound of water refilling the radiator.
Now, grab some dry kitchen roll and meticulously wipe down every single joint you’ve touched—that’s the nuts connecting the valve to the pipe and to the radiator itself. If you spot even the slightest hint of moisture, you’ll need to turn everything off again and give the nuts a tiny extra tighten. We’re not talking a full heave here; a quarter of a turn is usually more than enough.
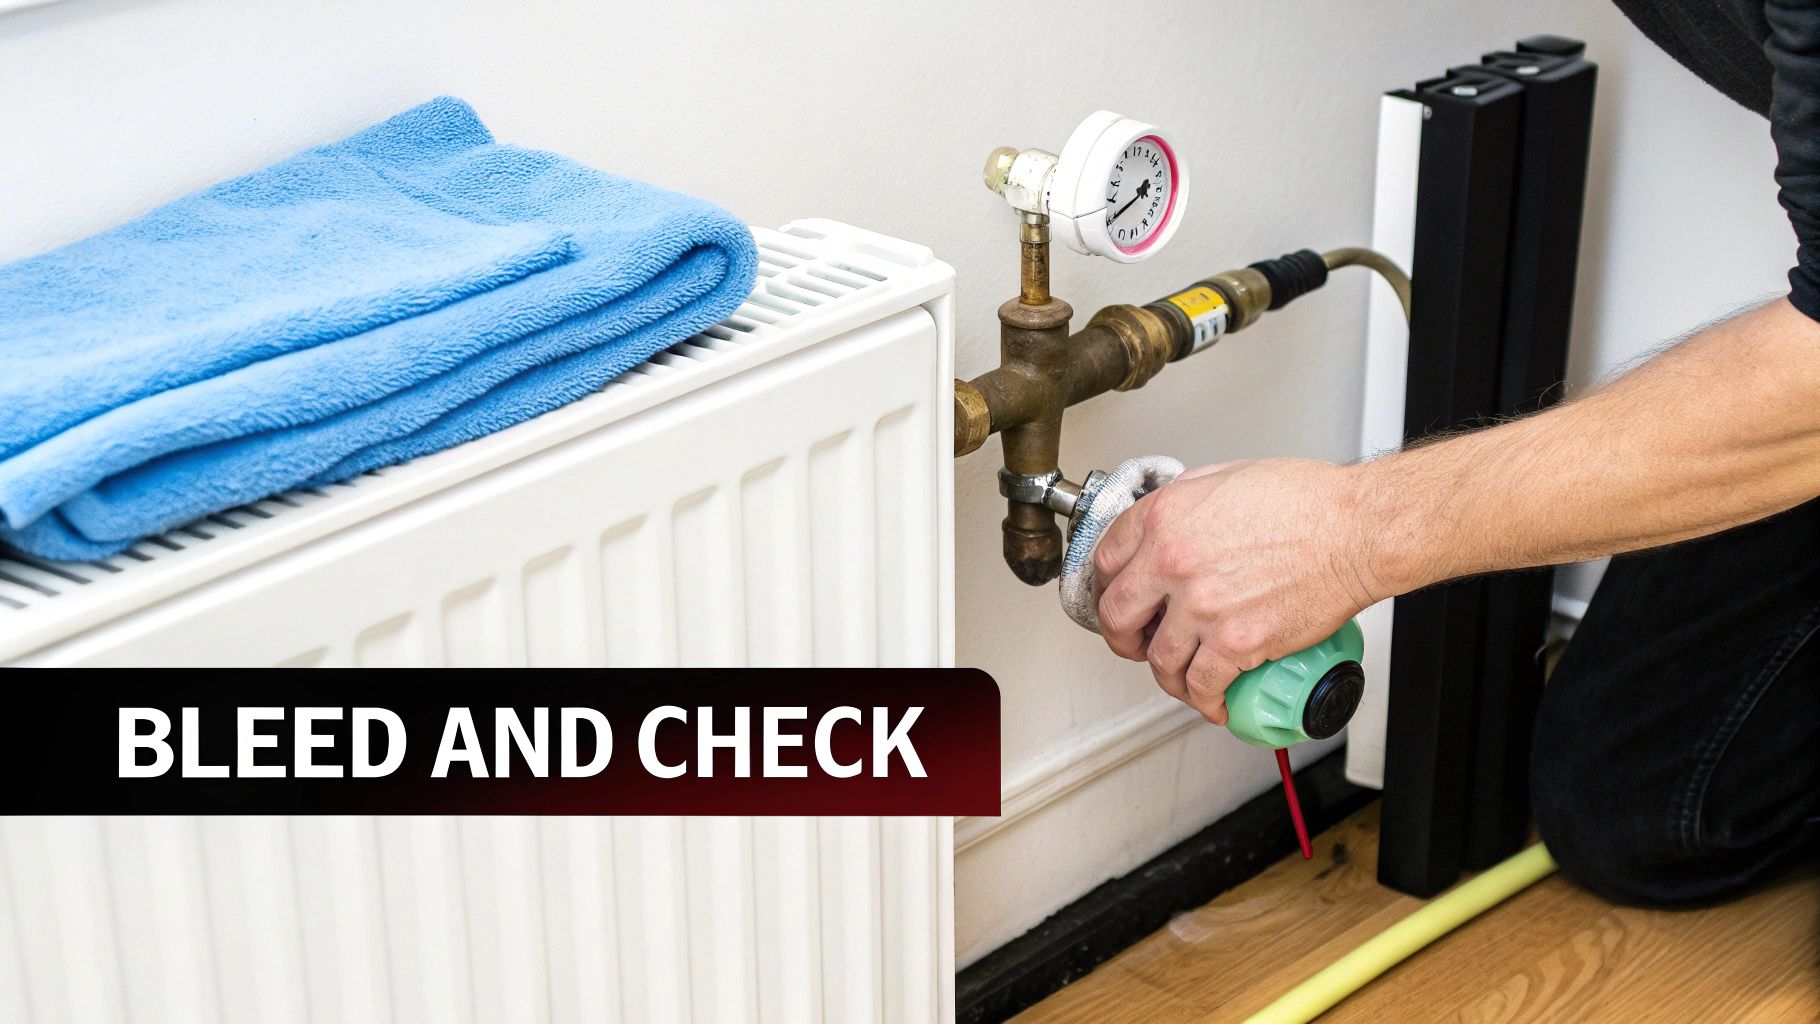
Bleeding the Radiator to Remove Trapped Air
Any time you open up a heating system, air gets in. This trapped air naturally rises to the highest point—the top of your radiator—which stops it from heating up evenly. That's why bleeding the radiator isn't just a good idea; it's an absolutely essential step.
You’ll need your radiator key and an old cloth to catch any drips. Fit the key onto the small square bleed valve, usually found at the top corner of the radiator, and turn it anti-clockwise. You'll immediately hear a hissing sound as the air escapes. Keep going until the hissing stops and is replaced by a steady trickle of water. As soon as you see water, quickly turn the key clockwise to close the valve.
If you'd like a more detailed walkthrough, have a look at our complete homeowner's guide on how to bleed radiators.
A common call-out we get in Eastbourne is from homeowners who've fitted a new valve but find the radiator is still cold at the top. It’s almost always trapped air. At Harrlie Plumbing and Heating, we know that a quick bleed is the simple fix that makes all the difference.
Repressurising the Boiler
Letting air and a bit of water out will cause the pressure in a modern combi boiler system to drop. Go and have a look at the pressure gauge on the front of your boiler—chances are it will have dipped below the recommended level.
Most boilers have a filling loop, which is often a silver braided hose with one or two small levers underneath. You use this to top up the system pressure. Slowly open the valves to let fresh water in, keeping a close eye on the gauge. You’re aiming for a pressure of around 1.5 bar when the system is cold. Once you hit the target, close the valves firmly.
With the radiator bled and the system repressurised, you can finally turn your heating back on. Let the system get up to temperature and do one last check for any weeping joints. The final step? Test your new TRV by turning it down to a lower setting and waiting for the radiator to cool down. This confirms it’s all working perfectly.
Knowing When to Put Down the Spanners and Call a Pro
Let's be honest, the best part of any DIY job is that feeling of accomplishment at the end. But the most important part? Knowing your limits. While fitting a new TRV is well within reach for most, there are definite moments when pushing on can turn a small job into a full-blown, floor-soaking emergency.
If you’ve got a valve that’s absolutely seized solid, it’s time to take a step back. This is something we see a lot in older Eastbourne properties, where years of limescale build-up have basically welded the fittings to the pipe. Trying to force it with more and more welly risks twisting or, even worse, snapping the copper pipe. That’s a guaranteed emergency call-out.
Another clear sign to down tools is a leak you just can't seem to stop. A slow, persistent weep from a joint might not look like much, but over time it can cause a surprising amount of hidden water damage to your floors and joists.
Sticking to the Rules and Tackling Tricky Systems
Beyond the hands-on challenges, you've got to think about the bigger picture, which includes UK Building Regulations. These rules are there for a good reason – to make sure our heating systems are both safe and efficient. This is especially important if you’re making bigger changes or getting a new boiler fitted.
Did you know? The latest update to Approved Document L, Volume 1, states that when a new boiler goes into an existing home, every radiator needs thermostatic controls. While you might not have to replace your current TRVs, upgrading any old manual valves can slash your heating bills by around 18%. You can get the full rundown on these heating control guidelines from BEAMA.
If you’re looking at your heating system and feeling even a little bit out of your depth – maybe it’s an old, unusual setup, or you’ve got that fiddly microbore pipework – the smart money is always on calling a professional.
For homeowners across Eastbourne and Sussex, that’s where we come in. Here at Harrlie Plumbing and Heating, our certified engineers are the experts at dealing with stubborn valves, complex systems, and making sure the entire job is done safely and to the highest standard. It’s the easiest way to get total peace of mind.
Common Questions About TRV Installation
Once you've got your new TRVs fitted, you might still have a couple of questions. It's perfectly normal. Here are some of the most common queries we get from homeowners around Eastbourne, along with some straightforward, practical answers from our team.
Can I Install a TRV on Every Radiator in My House?
It's tempting to think that fitting a TRV to every single radiator will give you the ultimate control, but it's actually something we advise against. You should always leave one radiator completely free of a TRV, or at the very least, have its valve permanently set to fully open.
Typically, this will be the radiator in your bathroom or a hallway—usually the one closest to your main room thermostat. Why? This radiator acts as an essential 'bypass' loop. It guarantees that if all the other TRVs in your house happen to close at the same time, your boiler's pump isn't straining against a completely blocked system. This simple step prevents unnecessary pressure and potential damage to your pump.
Why Is My New TRV Not Working Correctly?
So, you've fitted the new valve, but the radiator is still cold. Don't panic! More often than not, the culprit is a tiny metal pin inside the valve body that's got itself stuck. This is especially common if the valve has been sitting in its packaging for a while.
To check, just twist off the new thermostatic head. You'll see the pin poking out. It should pop up and move freely when you press it. If it’s stuck in the down position, a gentle tap on the side of the valve body or a careful pull upwards with a pair of pliers will usually do the trick. Also, take a quick look around the radiator. Is a big sofa or a pair of heavy curtains blocking the TRV? Anything that traps heat around the valve can trick it into thinking the room is warmer than it is, causing it to shut off too early.
At Harrlie Plumbing and Heating, we often get calls about TRVs that seem faulty, but a simple check of the pin or surrounding airflow solves the problem 9 times out of 10. It's a quick fix that can save you a call-out fee.
What Number Should I Set My TRV To?
This is a great question. The numbers on a TRV dial are all about the target temperature for the room, not about how fast the radiator gets hot. Cranking it up to 5 won't heat the room any quicker; it will just keep the heating on until it reaches a much higher temperature.
For most living spaces, a good place to start is the middle setting, which is usually a '3' on a dial of 1-5. This generally corresponds to a comfortable room temperature of around 20°C. You can then tweak it up or down until it feels just right for you. For rooms you don’t use as much, like a guest bedroom, the frost protection setting (often marked with a '*') is perfect. It keeps the room just warm enough to prevent pipes from freezing without wasting energy.
If you've tackled the installation but still have questions or just want a professional to make sure your heating system is running perfectly, Harrlie Plumbing and Heating is here to help. Contact us for expert advice and reliable service across Eastbourne and Sussex. Find out more at https://www.harrlieplumbing.co.uk.
