How to Fix a Dripping Tap A UK Homeowner's Guide
- Luke Yeates
- Nov 13, 2025
- 13 min read

That constant drip... drip... drip... is more than just an annoying sound; it's the first sign that something isn't quite right with your tap. The good news is that fixing it is often much simpler than you might imagine. In most cases, it’s a straightforward job of shutting off the water supply, taking the tap handle apart, and replacing a small, inexpensive part like a washer or a ceramic disc cartridge. Getting this quick repair sorted can save you a surprising amount of money and restore a bit of peace and quiet.
The True Cost of a Dripping Tap
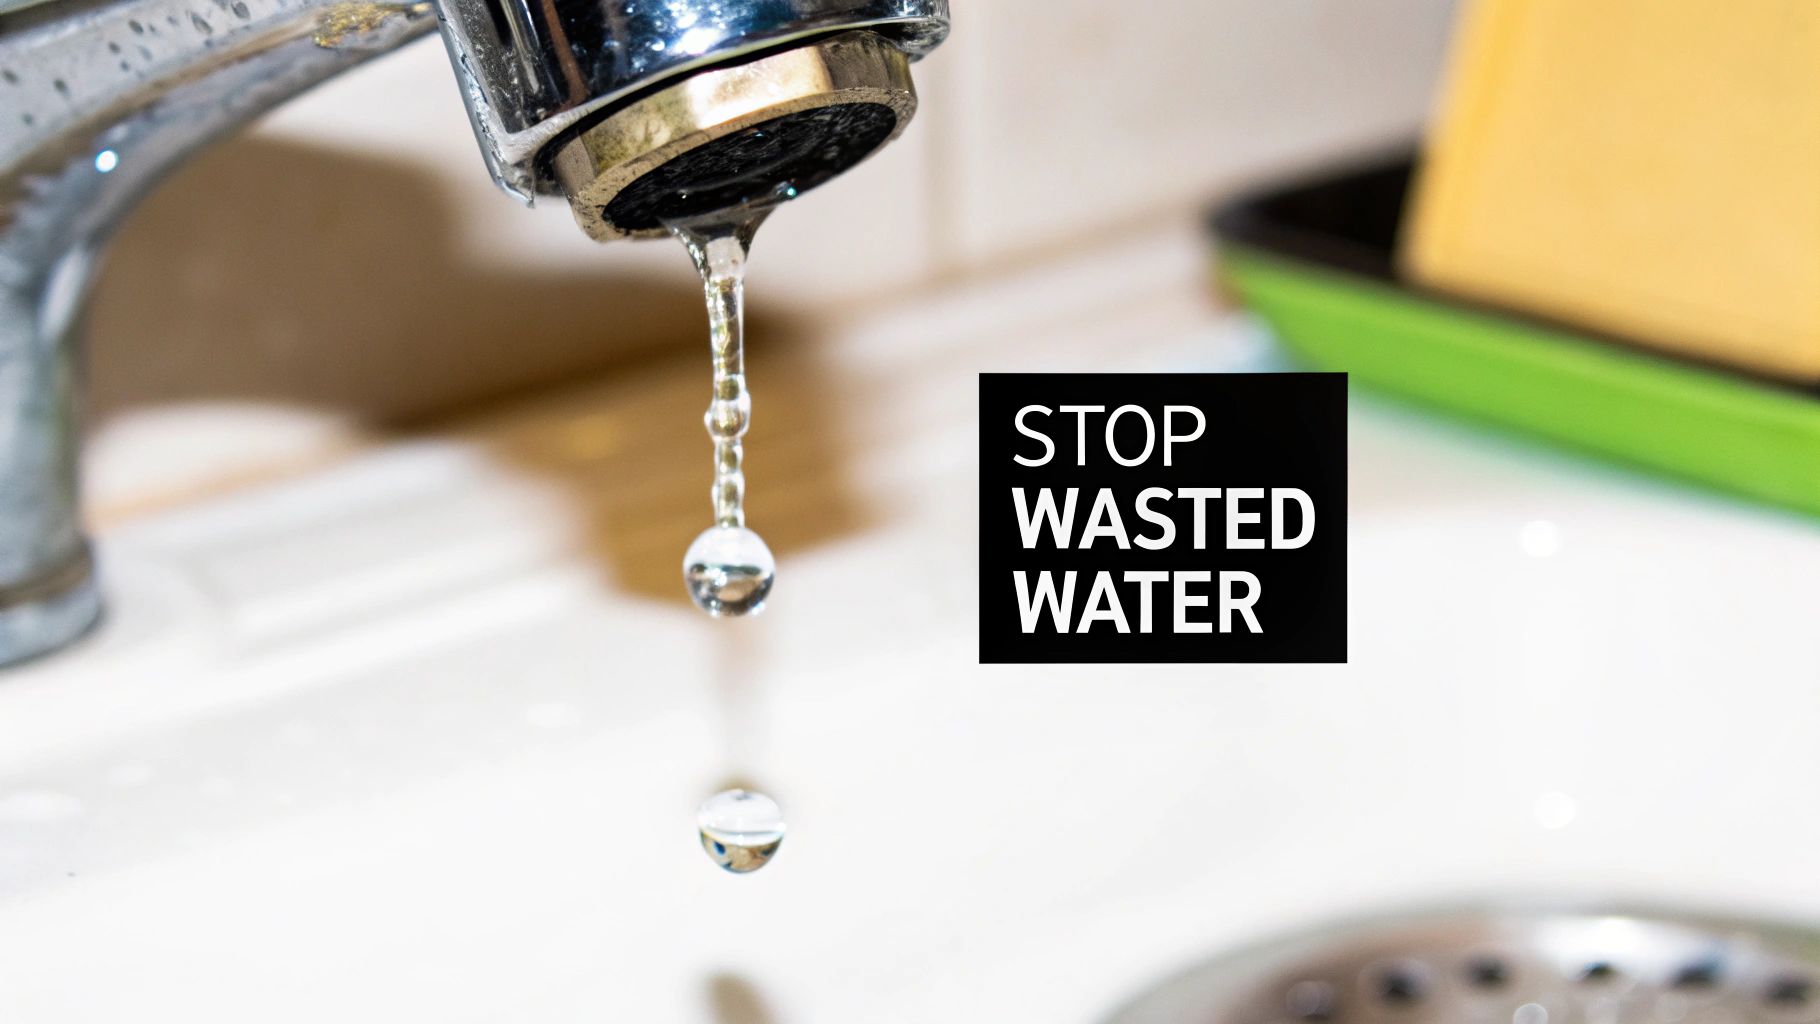
It’s tempting to push a dripping tap to the bottom of the to-do list, dismissing it as a minor issue. We see it all the time in homes across Eastbourne. But each one of those drops represents a real waste of water and money. That little sound is just the start—the real impact hits you when the utility bill arrives.
You'd be shocked at how quickly a small leak adds up. Data from Water UK shows that a tap dripping just 30 millilitres a minute wastes an incredible 15,768 litres of water every year. To put that into perspective, that’s enough to fill about 197 bathtubs.
If it's a cold tap, that drip could add around £14 to your yearly bill. But if it’s the hot tap that’s leaking? You could be looking at costs soaring up to £100 a year because you’re also paying to heat all that water before it goes straight down the drain.
Beyond the Water Bill
The financial headache doesn’t end with your water and energy bills. An unchecked drip can snowball into much bigger, costlier problems. All that persistent moisture can lead to:
Ugly Stains: Limescale and rust can leave permanent marks on your sink, bath, or basin that are almost impossible to remove. This is a common issue we at Harrlie Plumbing and Heating see in Eastbourne, due to the area's hard water.
Structural Damage: Water has a knack for getting where it shouldn't. It can seep into grout, get behind tiles, or creep under worktops, causing cabinetry and floorboards to rot and decay.
Mould Growth: Damp, dark spaces are a perfect breeding ground for mould and mildew, which can seriously affect your home’s air quality and your family's health.
Beyond the obvious spike in your bills, an untreated dripping tap can lead to significant water damage over time. It’s always a good idea to Understand homeowners insurance coverage for water damage so you know where you stand if a small leak turns into a major disaster.
At Harrlie Plumbing and Heating, we’ve seen countless situations here in Eastbourne where a simple £5 washer could have prevented hundreds of pounds worth of damage. Tackling the problem head-on isn’t just about saving water; it's about protecting your home.
Finding the Source of the Drip
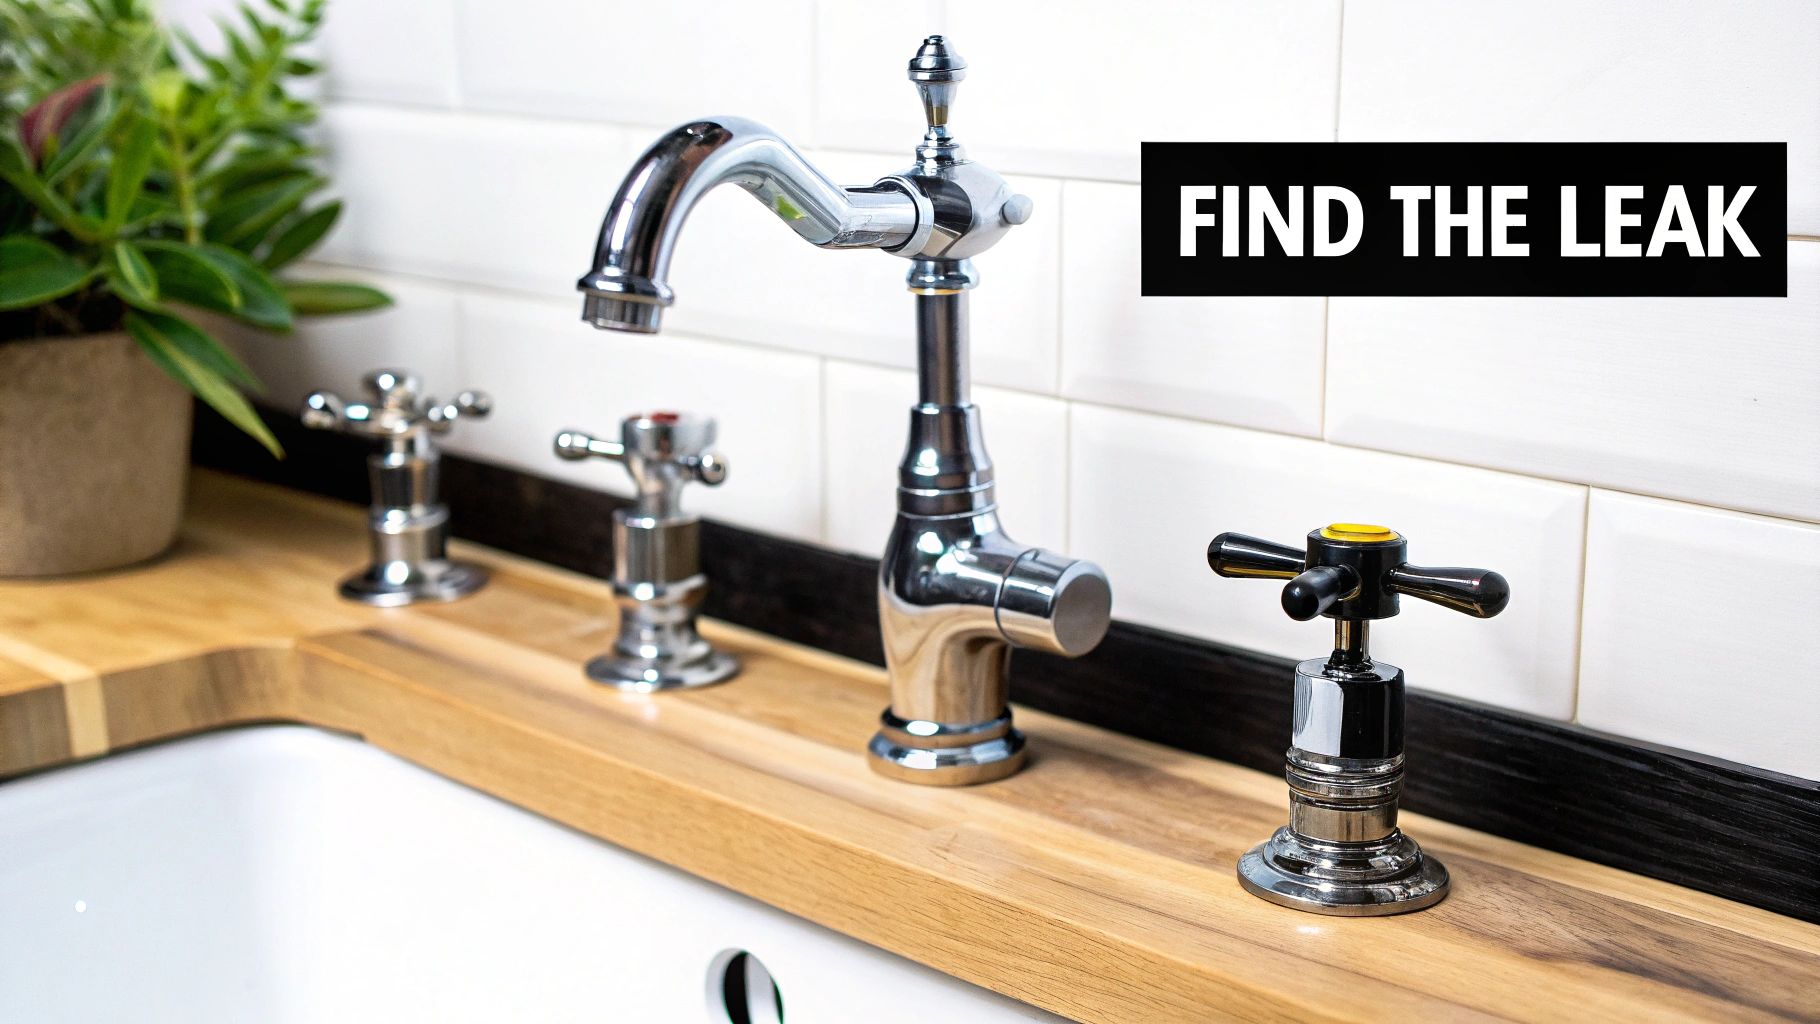
Before you even think about reaching for a spanner, the first step is to play detective. Not all taps are built the same, and the right fix depends entirely on what kind you've got sitting on your sink. We often hear from homeowners in Eastbourne who've bought the wrong part, so getting this first step right will save you a world of frustration.
Most taps in UK homes fall into one of two camps: the traditional compression taps or the more modern ceramic disc taps. The way they work internally is completely different, which is why figuring out which one you have is half the battle won.
A compression tap is that classic style you’ve probably seen a million times. It has separate hot and cold handles that you need to turn several times to get the water flowing. A ceramic disc tap, on the other hand, usually has a single lever that controls both temperature and flow with just a quick quarter or half turn.
Identifying Your Tap Type
The easiest way to tell them apart is by how they operate. If you find yourself twisting the handle multiple times to go from a trickle to a full blast, you’re almost certainly dealing with a compression tap. These are incredibly common in older properties, from Victorian terraces in the Old Town of Eastbourne to more traditional 1970s builds.
In contrast, if your tap goes from off to fully on with a short, sharp flick of the wrist, it's a ceramic disc tap. These are now standard in most new kitchens and bathrooms, like those you'd find in the new developments around the Sovereign Harbour.
The most common cause of a drip in a compression tap is a simple worn-out rubber washer. For ceramic disc taps, the problem is usually a cracked or worn internal ceramic cartridge. Knowing this before you start makes the repair process so much smoother.
Once you know the type, have a quick look to pinpoint exactly where the water is coming from. It’s not always the spout. Sometimes, the drip can come from the base of the tap or even from around the handle itself. A quick visual check is always the best place to start.
If you spot water pooling around the base of the sink but can’t see an obvious drip from the tap, the issue might be more elusive. Our guide on how to find a water leak in your home has some excellent tips for tracking down those trickier problems.
To help you get started, here's a quick reference guide.
Common Tap Types and Drip Causes
This little table should help you quickly identify what you’re working with and what the likely culprit is.
Tap Type | How to Identify It | Most Common Cause of Drips |
|---|---|---|
Compression Tap | Has two separate handles that require multiple turns to operate. | A perished or compressed rubber washer inside the handle mechanism. |
Ceramic Disc Tap | Often has a single lever that operates with a quarter-turn. | A cracked or worn-out ceramic disc cartridge that needs replacing. |
Ball Tap | An older single-handle design, less common now. Uses a rotating metal ball. | Worn-out rubber seals and springs inside the ball mechanism. |
Mixer Tap | Can be either compression or ceramic disc, but combines hot and cold water. | The cause depends on the internal mechanism (washer or cartridge). |
Having this information on hand makes it much easier to head to the hardware shop with confidence, knowing exactly what part you need to stop that annoying drip for good.
Your Essential Tap Repair Toolkit
Before you even think about tackling that dripping tap, the first step is always getting your tools in order. Trust me, having everything you need within arm's reach can turn a potentially frustrating job into a quick and satisfying fix. We've seen it all here at Harrlie Plumbing and Heating, from simple jobs in beachfront flats in Eastbourne to more complex repairs, and the right equipment always makes the difference.
You don’t need a toolbox fit for a professional, just a few key items that will see you through most common tap troubles. Think of it as putting together your own basic tap repair kit. The aim is to be prepared without spending a fortune on tools you’ll hardly ever use.
The Must-Have Tools
Most tap repairs can be sorted with a small handful of tools, many of which you might already have tucked away in a drawer. If not, they’re easy to find at any local hardware shop.
Adjustable Spanner: This is your best friend for this job. Its adjustable jaw means it can grip the various nuts and bolts on different taps, saving you from needing a whole set of spanners.
Screwdriver Set: You'll almost certainly need both a flat-head and a cross-head (Phillips) screwdriver. A lot of modern taps hide a tiny grub screw under a decorative cap on the handle, and you'll need the right screwdriver to get it out.
Pliers: A pair of needle-nose pliers can be a real lifesaver for grabbing and placing small parts like washers, especially when you're working in a tight space.
Old Cloth or Rag: This is non-negotiable for two reasons. First, you'll want to plug the sink drain to stop any tiny screws or parts from vanishing forever. Second, it’s perfect for protecting the tap’s shiny finish.
Here’s a simple trick we at Harrlie Plumbing and Heating always use on the job: wrap the jaws of your spanner with a bit of electrical tape or simply place a cloth between the tool and the tap. This stops the metal from scratching the chrome finish, keeping your fixtures looking brand new.
Essential Materials and Spare Parts
Aside from your tools, you'll need the correct replacement parts. Figuring this out before you start saves you that annoying second trip to the shop mid-repair.
The most common parts you’ll need are:
Replacement Washers: For older, traditional compression taps, a pack of assorted rubber washers is a brilliant investment. They're cheap, and having a few different sizes ready to go is incredibly useful.
Ceramic Cartridge: For most modern lever taps, you’ll be dealing with a ceramic cartridge. You'll need a specific replacement, so try to find the tap’s manufacturer or, even better, take the old cartridge with you to a local Eastbourne plumbing supplier to get an exact match.
O-Rings: These little rubber rings create seals at different points inside the tap. It’s always a good idea to replace them at the same time as the main washer or cartridge, as they can also wear out over time.
Right then, you've got your tools sorted. It's time to get your hands dirty and learn how to fix that annoying dripping tap. The whole process is usually pretty straightforward, but the real key is to be patient and do things in the right order. We'll start with the must-do first steps that apply to any tap repair, then we'll get into the nitty-gritty for the two main types: compression and ceramic disc taps.
First Things First: Prep Work is Key
Before a single spanner touches that tap, you absolutely must shut off the water supply. Have a look under the sink for the isolation valve on the pipes – a quick turn with a flat-head screwdriver should do it. If you can't spot one, you’ll need to turn the water off at the main stopcock. If you're not sure about that, our guide on how to turn off your water main will walk you through it.
With the water off, open the tap to let any leftover water drain out of the pipe. And here’s a tip our engineers at Harrlie Plumbing and Heating swear by: plug the sink drain. Trust me, a tiny screw dropped down the plughole can turn a simple fix into a massive headache.
This infographic shows you the essential bits of kit for most common tap repairs.
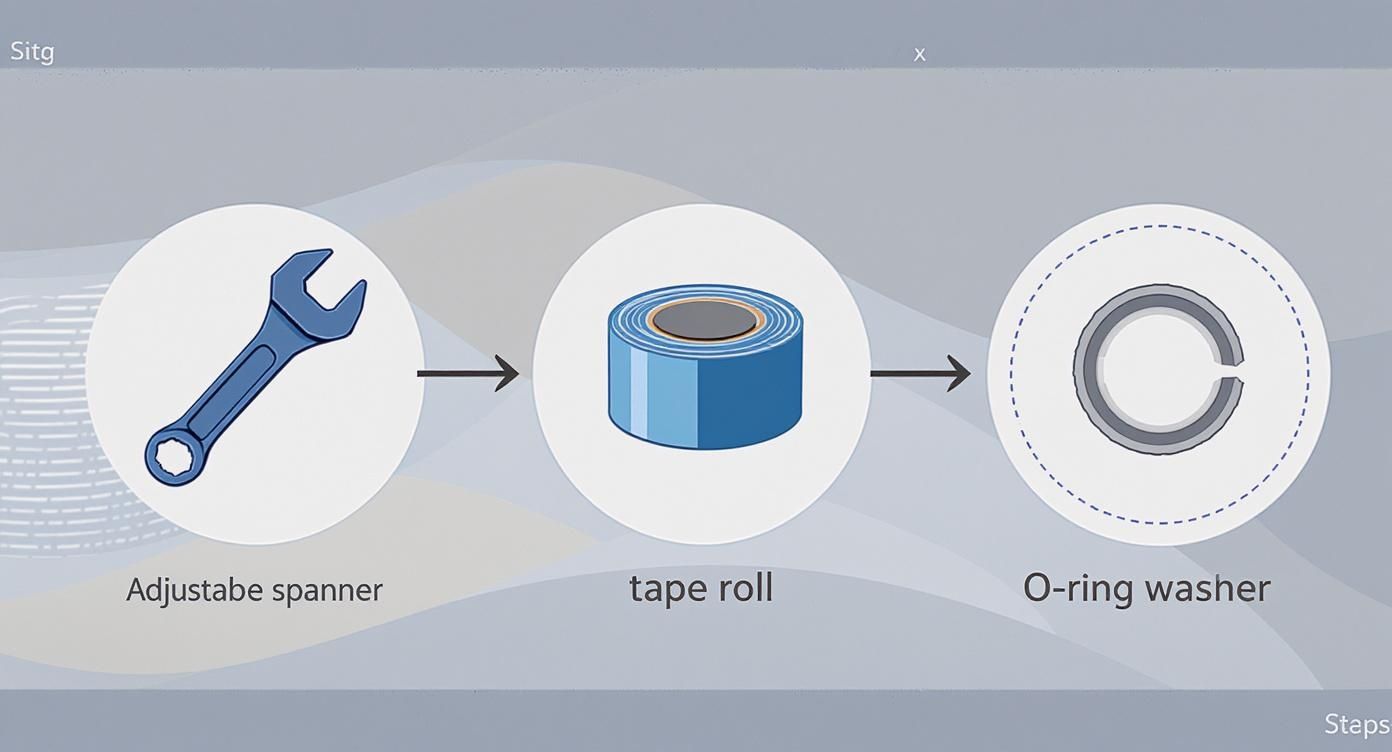
As you can see, having an adjustable spanner, some protective tape, and the right washer will see you through the most common scenarios.
Fixing a Traditional Compression Tap
If your tap is the traditional kind with two separate handles, the problem is almost always a worn-out rubber washer. It's a classic case of wear and tear.
Start by carefully prying off the decorative cap on top of the handle. A small, flat-head screwdriver is perfect for this. Underneath, you’ll find the screw holding the handle on. Undo it and gently lift the handle off. Sometimes they can be a bit stubborn, especially in Eastbourne homes near the coast where the salty air can cause a bit of corrosion. A bit of gentle wiggling back and forth usually does the trick.
Once the handle is off, you’ll see the valve mechanism. Grab your adjustable spanner (and wrap some tape around the jaws to protect the chrome finish!) to unscrew this part. As you lift it out, you’ll spot the small rubber washer at the bottom. It'll likely look squashed and past its best. Just pop it off, replace it with a new one of the exact same size, and put everything back together in reverse order.
A common mistake is to overtighten the handle screw when you're reassembling. It's easily done, but this can damage the new washer before you've even used it. Tighten it so it feels firm, but don't go cranking on it.
Replacing a Ceramic Disc Cartridge
For more modern lever taps, the job is a bit different. Instead of a washer, you'll be replacing the entire cartridge unit.
Have a good look for a small grub screw. It’s often hidden behind a little plastic cap at the base of the lever handle. You might need an Allen key for this one. Once that screw is loose, you should be able to lift the lever handle straight off.
This will reveal a decorative metal shroud covering the cartridge, which usually just unscrews by hand. Underneath, you’ll see the cartridge itself, held firmly in place by a large brass retaining nut. Use your adjustable spanner to carefully loosen and remove this nut.
Now you can lift the old cartridge straight out. Pay close attention to how it was positioned and make sure the new one goes back in with the exact same orientation. Secure it with the retaining nut, pop the shroud and handle back on, and that’s it. For more detailed articles on general household jobs, the property maintenance blog from Rooms For Let has some great practical guides.
Once you've finished either repair, turn the water supply back on slowly and have a good check for any leaks before you declare the job a success.
Knowing When to Call a Plumber
There’s a great sense of satisfaction that comes from sorting out a dripping tap yourself. But even the keenest DIYer needs to know when it’s time to put the tools down and pick up the phone. Sometimes, what seems like a simple fix is actually a symptom of a much bigger issue. Pushing on can quickly turn a small drip into a costly disaster.
Knowing your limits is honestly the smartest move you can make. If you’ve gone through all the steps—you've replaced the washer, maybe even fitted a new cartridge—and that infuriating drip comes back, it’s a big clue that the problem is deeper than the surface. More often than not, this points to a worn-out or damaged valve seat, which really needs a specialist tool to resurface or replace correctly.
Likewise, if you open up the tap and are greeted by heavy corrosion or, worse, visible cracks in the tap body or pipework underneath, stop what you’re doing immediately. Trying to force rusted or corroded parts is a recipe for snapping them off and causing a much more serious leak. We’ve seen this happen plenty of times in older properties around Eastbourne, where years of hard water have really taken their toll on the fittings.
Understanding Professional Repair Costs
One of the main things that makes people hesitate to call a plumber is the worry about the cost. But getting a professional in is often more affordable than you might think, especially when you weigh it against the potential cost of causing more damage yourself.
On average, you can expect to pay between £50 and £150 for a professional to fix a leaking tap. Most jobs like this take somewhere between 30 minutes and two hours.
A basic washer replacement will usually be at the lower end of that scale, around £50 to £70. If it’s a more involved cartridge replacement, it might be closer to £60 to £110. It’s interesting to know that labour typically makes up about 90% of the final bill, as the parts themselves are usually quite cheap.
When a Professional Is Your Best Bet
Calling a plumber isn’t admitting defeat; it’s making a smart decision to protect your home. Here are a few clear signs that it’s time to call for backup:
The drip just won’t quit after you’ve tried the standard fixes.
You find significant rust or corrosion on the pipes or inside the tap itself.
The tap body has a visible crack or feels wobbly at the base, even after you’ve tightened it.
You simply don't feel confident tackling the job anymore. There’s no shame in that!
In these situations, ringing up a trusted local company like Harrlie Plumbing and Heating is the safest and most efficient way forward. Our experienced engineers have the right tools and know-how to diagnose the real problem quickly and get it sorted without any fuss.
If you're looking for some pointers on what to look for, our article on finding a plumber in Eastbourne has some practical tips. Don’t let a tricky tap cause you any more stress.
Got Questions About That Dripping Tap?
Even when a repair seems to go smoothly, it’s natural to have a few questions pop up. We get calls about this stuff all the time from homeowners across Eastbourne, so we've put together answers to the most common queries we hear. The goal is to give you clear, no-nonsense advice.
I’ve Replaced the Washer, so Why Is My Tap Still Dripping?
Ah, the classic head-scratcher. This is easily one of the most common follow-up calls we get at Harrlie Plumbing and Heating. If you’ve gone to the trouble of fitting a brand-new washer and that annoying drip is still there, the culprit is almost certainly the valve seat.
Think of the valve seat as the small metal rim that the washer presses against to stop the water. Over time, especially in a hard water area like Eastbourne, this seat can get rough, pitted, or damaged by limescale. This rough surface prevents the new washer from creating that perfect, watertight seal, no matter how much you tighten it.
You can buy a special “reseating tool” to grind it smooth again, but honestly, it’s a tricky job to get right. More often than not, a damaged valve seat is a clear sign that it’s time to call in a professional.
One other possibility? The new washer might have been overtightened during installation, which can damage it straight out of the packet. A gentle but firm turn is all it takes.
How Can I Find the Right Size Washer or Cartridge?
Finding the right part can feel like searching for a needle in a haystack, can't it? The most foolproof method is to take the old, worn-out part with you to a local hardware or plumbing supply shop. Nothing beats placing them side-by-side to guarantee an exact match.
If that’s not an option, have a good look at the tap itself for any manufacturer's name or a model number. A quick search online with those details can often point you straight to the right replacement part.
At Harrlie Plumbing and Heating, our vans are stocked with a wide range of common washers and cartridges. If you're struggling to identify a part for an older tap in your Eastbourne home, our engineers can usually find a match on the spot.
Should I Bother Repairing an Old Tap, or Just Replace It?
This really comes down to a balance of cost, condition, and your personal style.
If you have a high-quality, well-made tap that fits your bathroom or kitchen décor perfectly, a simple repair is absolutely the way to go. It’s far more cost-effective and keeps the look you love.
However, if your tap is getting on a bit, the chrome finish is peeling off, or finding replacement parts is turning into a real mission, then replacement is probably the smarter long-term solution. A new, modern tap is often more water-efficient too, which will save you a bit on your bills over time. Our plumbers at Harrlie Plumbing and Heating are always happy to give you an honest assessment to help you decide.
If you've tried everything and that drip just won't quit, or if you’d rather leave it to the experts from the start, don't hesitate to get in touch. Harrlie Plumbing and Heating is here to provide fast, reliable, and professional tap repairs across Eastbourne and the surrounding areas.
Pop over to our website for a free, no-obligation quote.

Comments